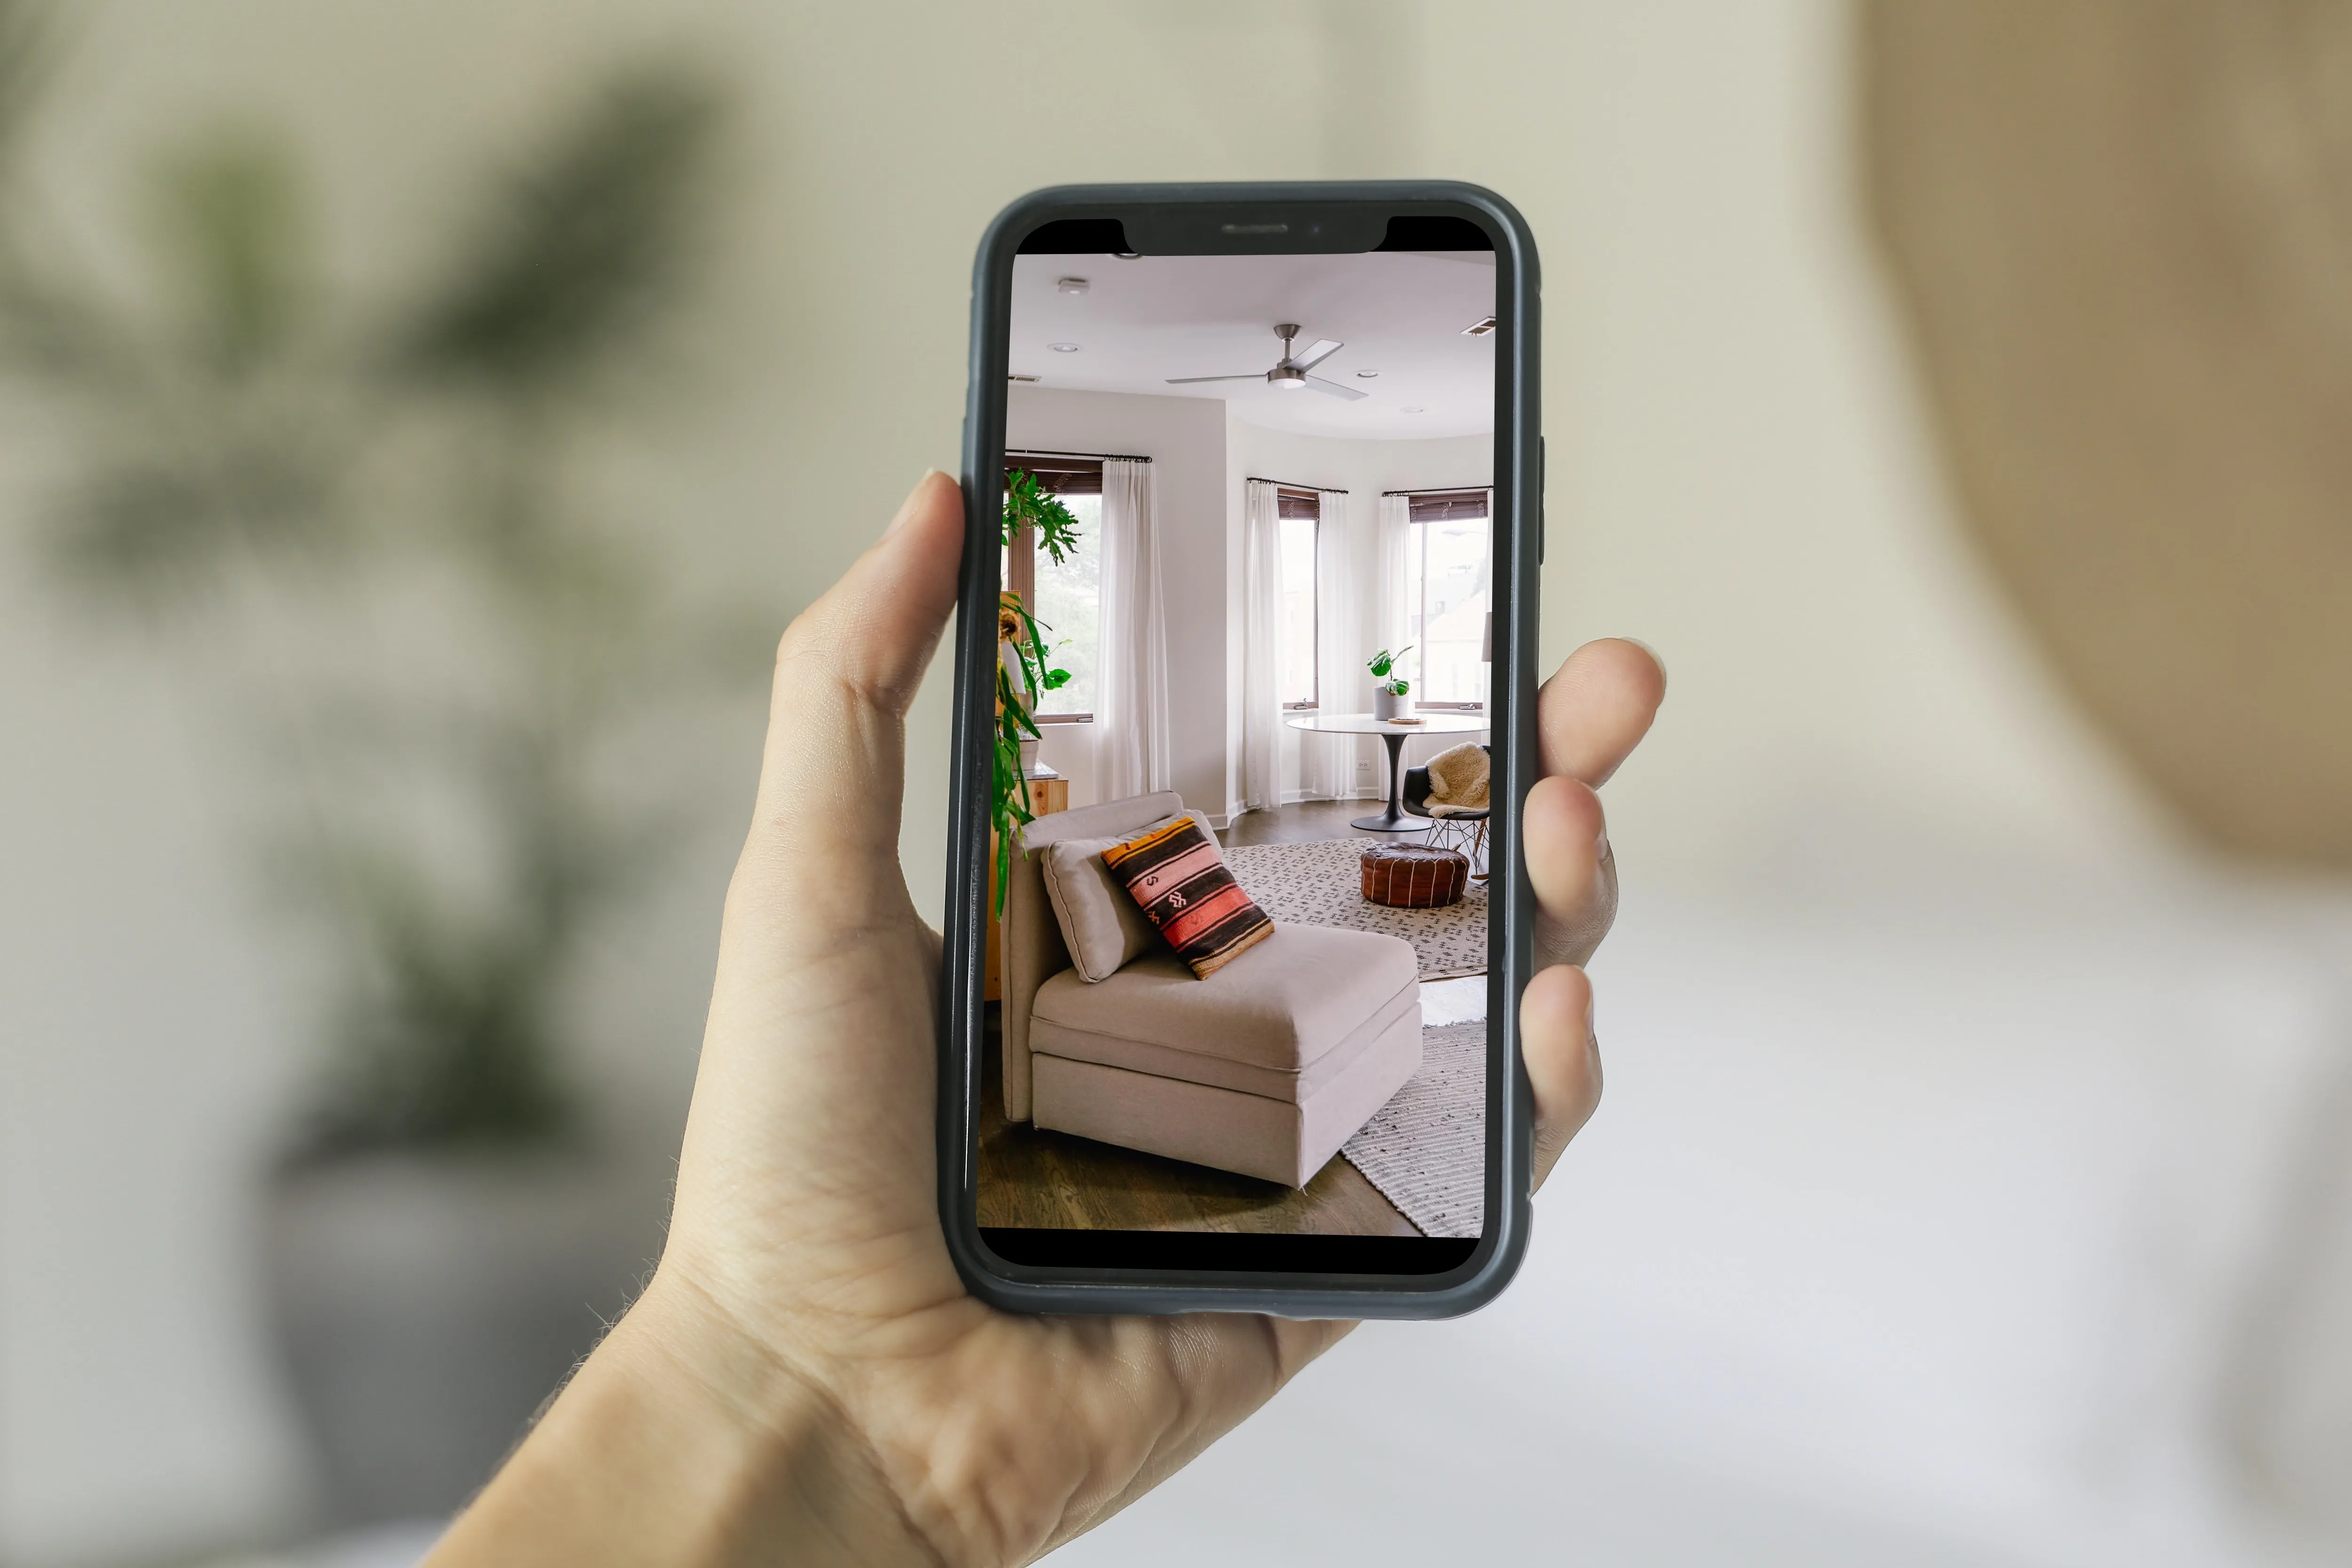
Yes, the iPhone or Samsung Galaxy smartphone can do some pretty amazing things. And, as far as apartment landlords are concerned, chief among those things is taking excellent photos of your apartment to share on your listing! This post will explore some of the basic steps apartment landlords can follow in order to take great apartment photos using only their smartphones. There are some technical details considered at the end of the post in case anyone wants to nerd out over their smartphone features. But anyone can get great looking photos with these fundamental steps.
Briefly:
- Take advantage of natural light in photos
- Avoid capturing people in images, either in mirrors or reflective windows
- If something's blocking your shot, move it out of the way
- Use 2 hands while taking photos
- Let your pictures tell an interesting story
- Get technical if you want -- smartphones do well on auto settings but there are manual controls to enhance brightness, exposure, white balance & aspect ratio in smartphone camera settings
Timing in Photos, Just Like in Life, Can be Everything
Use natural light. It brightens up a room in ways that most lamps or artificial lights simply can't match. Plan ahead to capture the apartment in its best light, aim for a time that daylight will be abundant.
Of course, selecting a bright day to take apartment photos is made all the easier when the apartment's vacant. What happens if it's cloudy? Or if the apartment's occupied and a renter can't accommodate a photoshoot on a nice, sunny day? Reschedule photo shoots if you have to, it will be worth it.
What about using the flash on the smartphone camera to illuminate darker areas in apartment photos? It's not always the best idea. Flash creates more of that unnatural light, so it really is not a substitute for the natural light that will make the space look more inviting in photos.
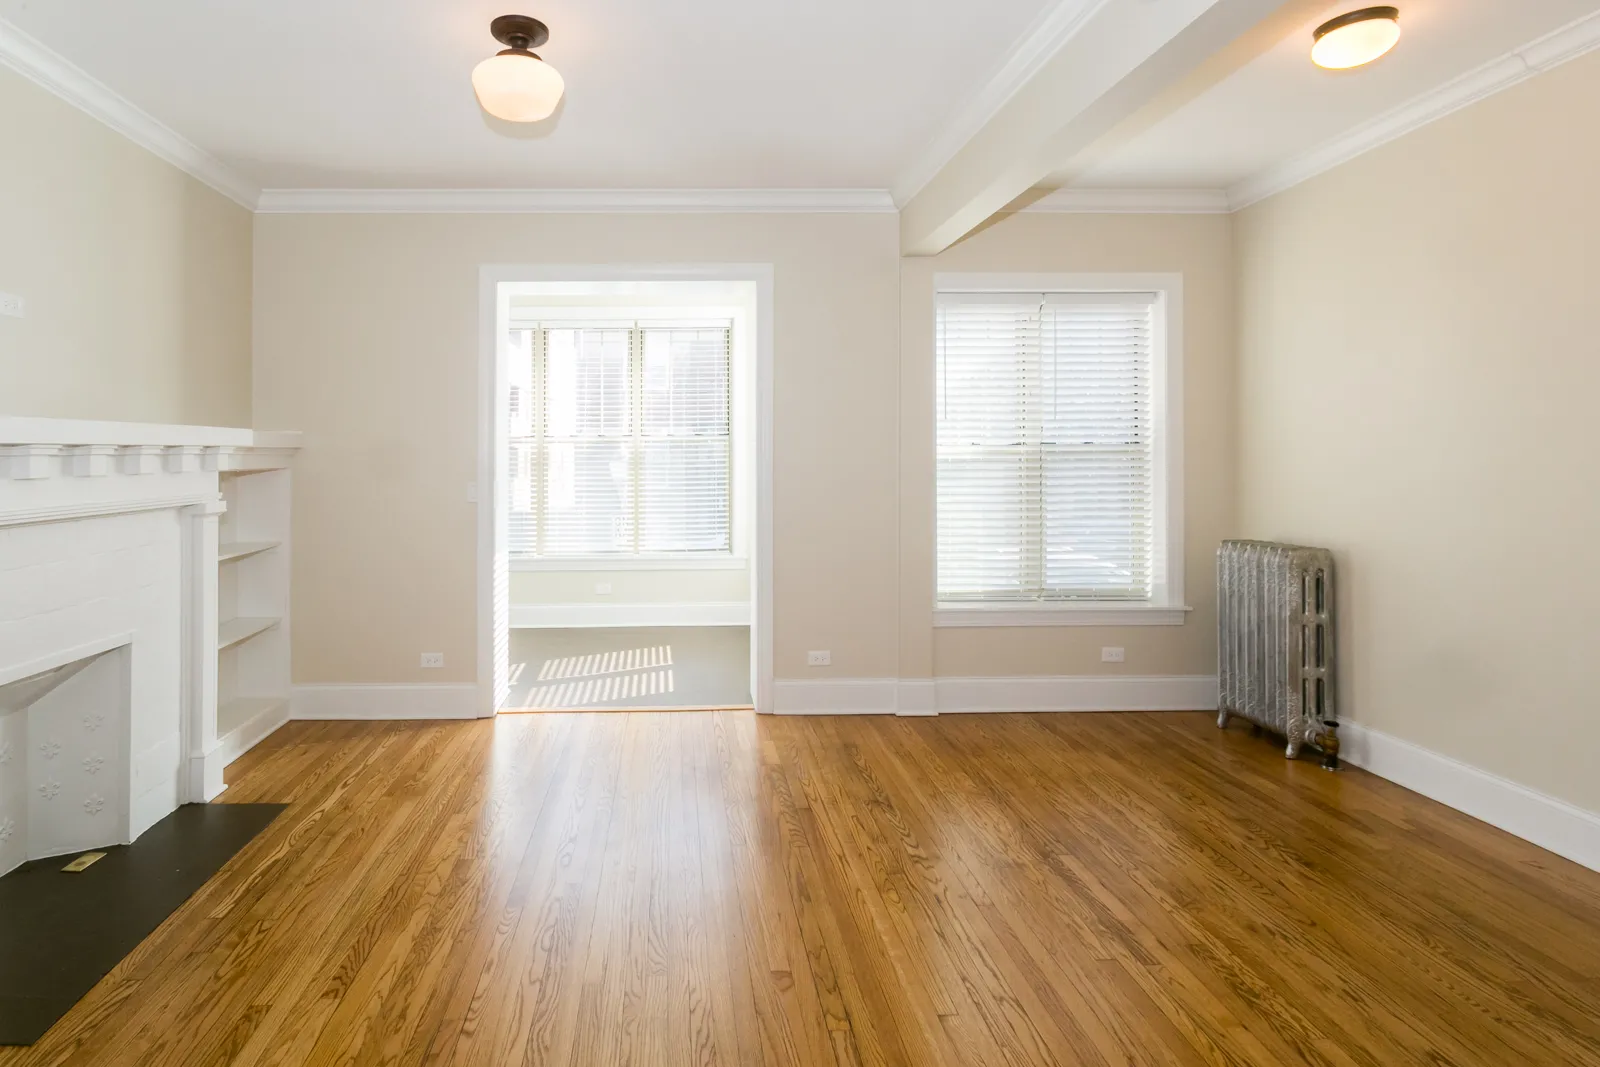
Take advantage of good natural light to shoot bright, clear photos with your smartphone's camera.
Got a Messy Tableau? Wipe the Slate Clean
Ensure that the apartment is tidy. Unlike the weather, this is something landlords CAN control and they should absolutely take the time to clear random objects from the frame before taking photos. It takes a couple of seconds and makes the difference between a professional-looking apartment photo and a sloppy photo that could be a potential deterrent to interested renters.
If renters' possessions are piled high in the area that you want to take photos, then ask politely to relocate them for a brief time. Explain with politeness and without a tinge of judgment that you'll only be moving those items long enough to make the photo. You're not asking them to de-clutter their entire life -- just the tiny sliver of the apartment you're photographing in that moment. The worst that can happen? A renter says, "No" and you shoot around their piles of stuff. But it never hurts to ask.
Oh, and another quick and easy tip to create more professional-looking photos for your apartment listing: watch that reflection! Mirrors can both brighten and open up a room, making it seem twice as large as it actually is. But watch those reflective surfaces like mirrors and windows -- capturing your own reflection in the photo reads as an amateur move. When it comes to apartment photos, people are best left out of the picture.
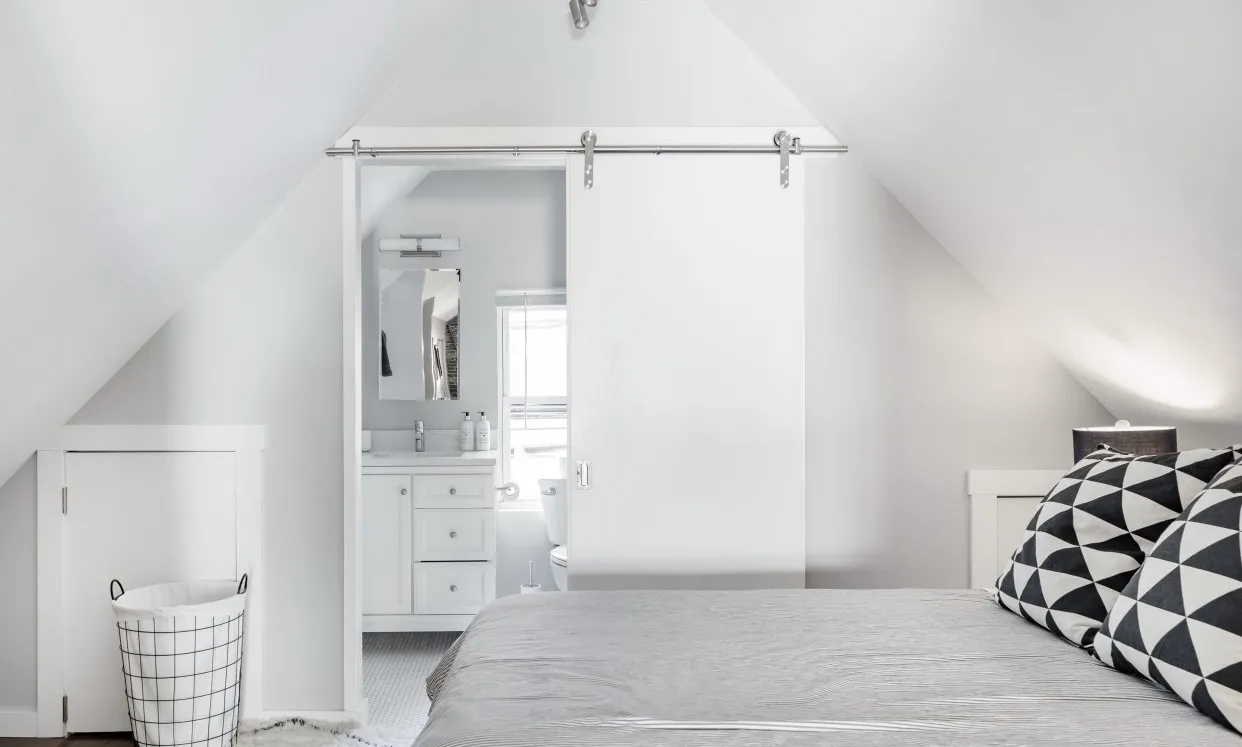
Neat spaces make for much more appealing photos on your apartment listing. Take the extra time to tidy up before snapping photos on your smartphone.
Square Up, Use Both Hands, and Snap Away
Perspective is important in capturing the best-looking apartment photos. Perhaps landlords have seen some real deal photographers in action, say at a wedding or a professional apartment photo shoot, and they noticed the pros will use a ladder to get more dimension or a wider scope for their shot. This is a great tactic IF you have the right lens, flash, and a host of other professional equipment to complement the added height.
Avoid shots that look like they're taken perched from the top of a ladder (or those taken way down low from the perspective or a housepet) when it comes to DIY smartphone photos. Unless you are using a stable chair or stepladder to get that added height, then you're usually hoisting their camera high up into the air and hoping for a great shot. This is like shooting photos blindly, in other words. And stretching those hands as far up as they can go will be less stable, resulting in blurry or out-of-focus images in the end.
Don't go for fancy tricks or gimmicks. Instead, get your framing right by standing with your feet shoulder's width apart, holding the camera at eye level (with both hands) and aiming for a neatly composed frame. Use the grid feature of the smartphone app to line up the photos.
Once you've taken a couple of snapshots, decide whether or not you're using the best orientation for your apartment photos. What does that mean? Rotating the camera 90 degrees will result in wider, landscape orientation photos. Leaving the smartphone upright in your hands will produce vertical, or portrait orientation, images. If the apartment has a lot of space that you want to showcase in the photos, then stick with the landscape (horizontal) orientation. If there are more specific details you're after, such as high-end fixtures or appliances, then consider using the portrait orientation (vertical) for the photos.
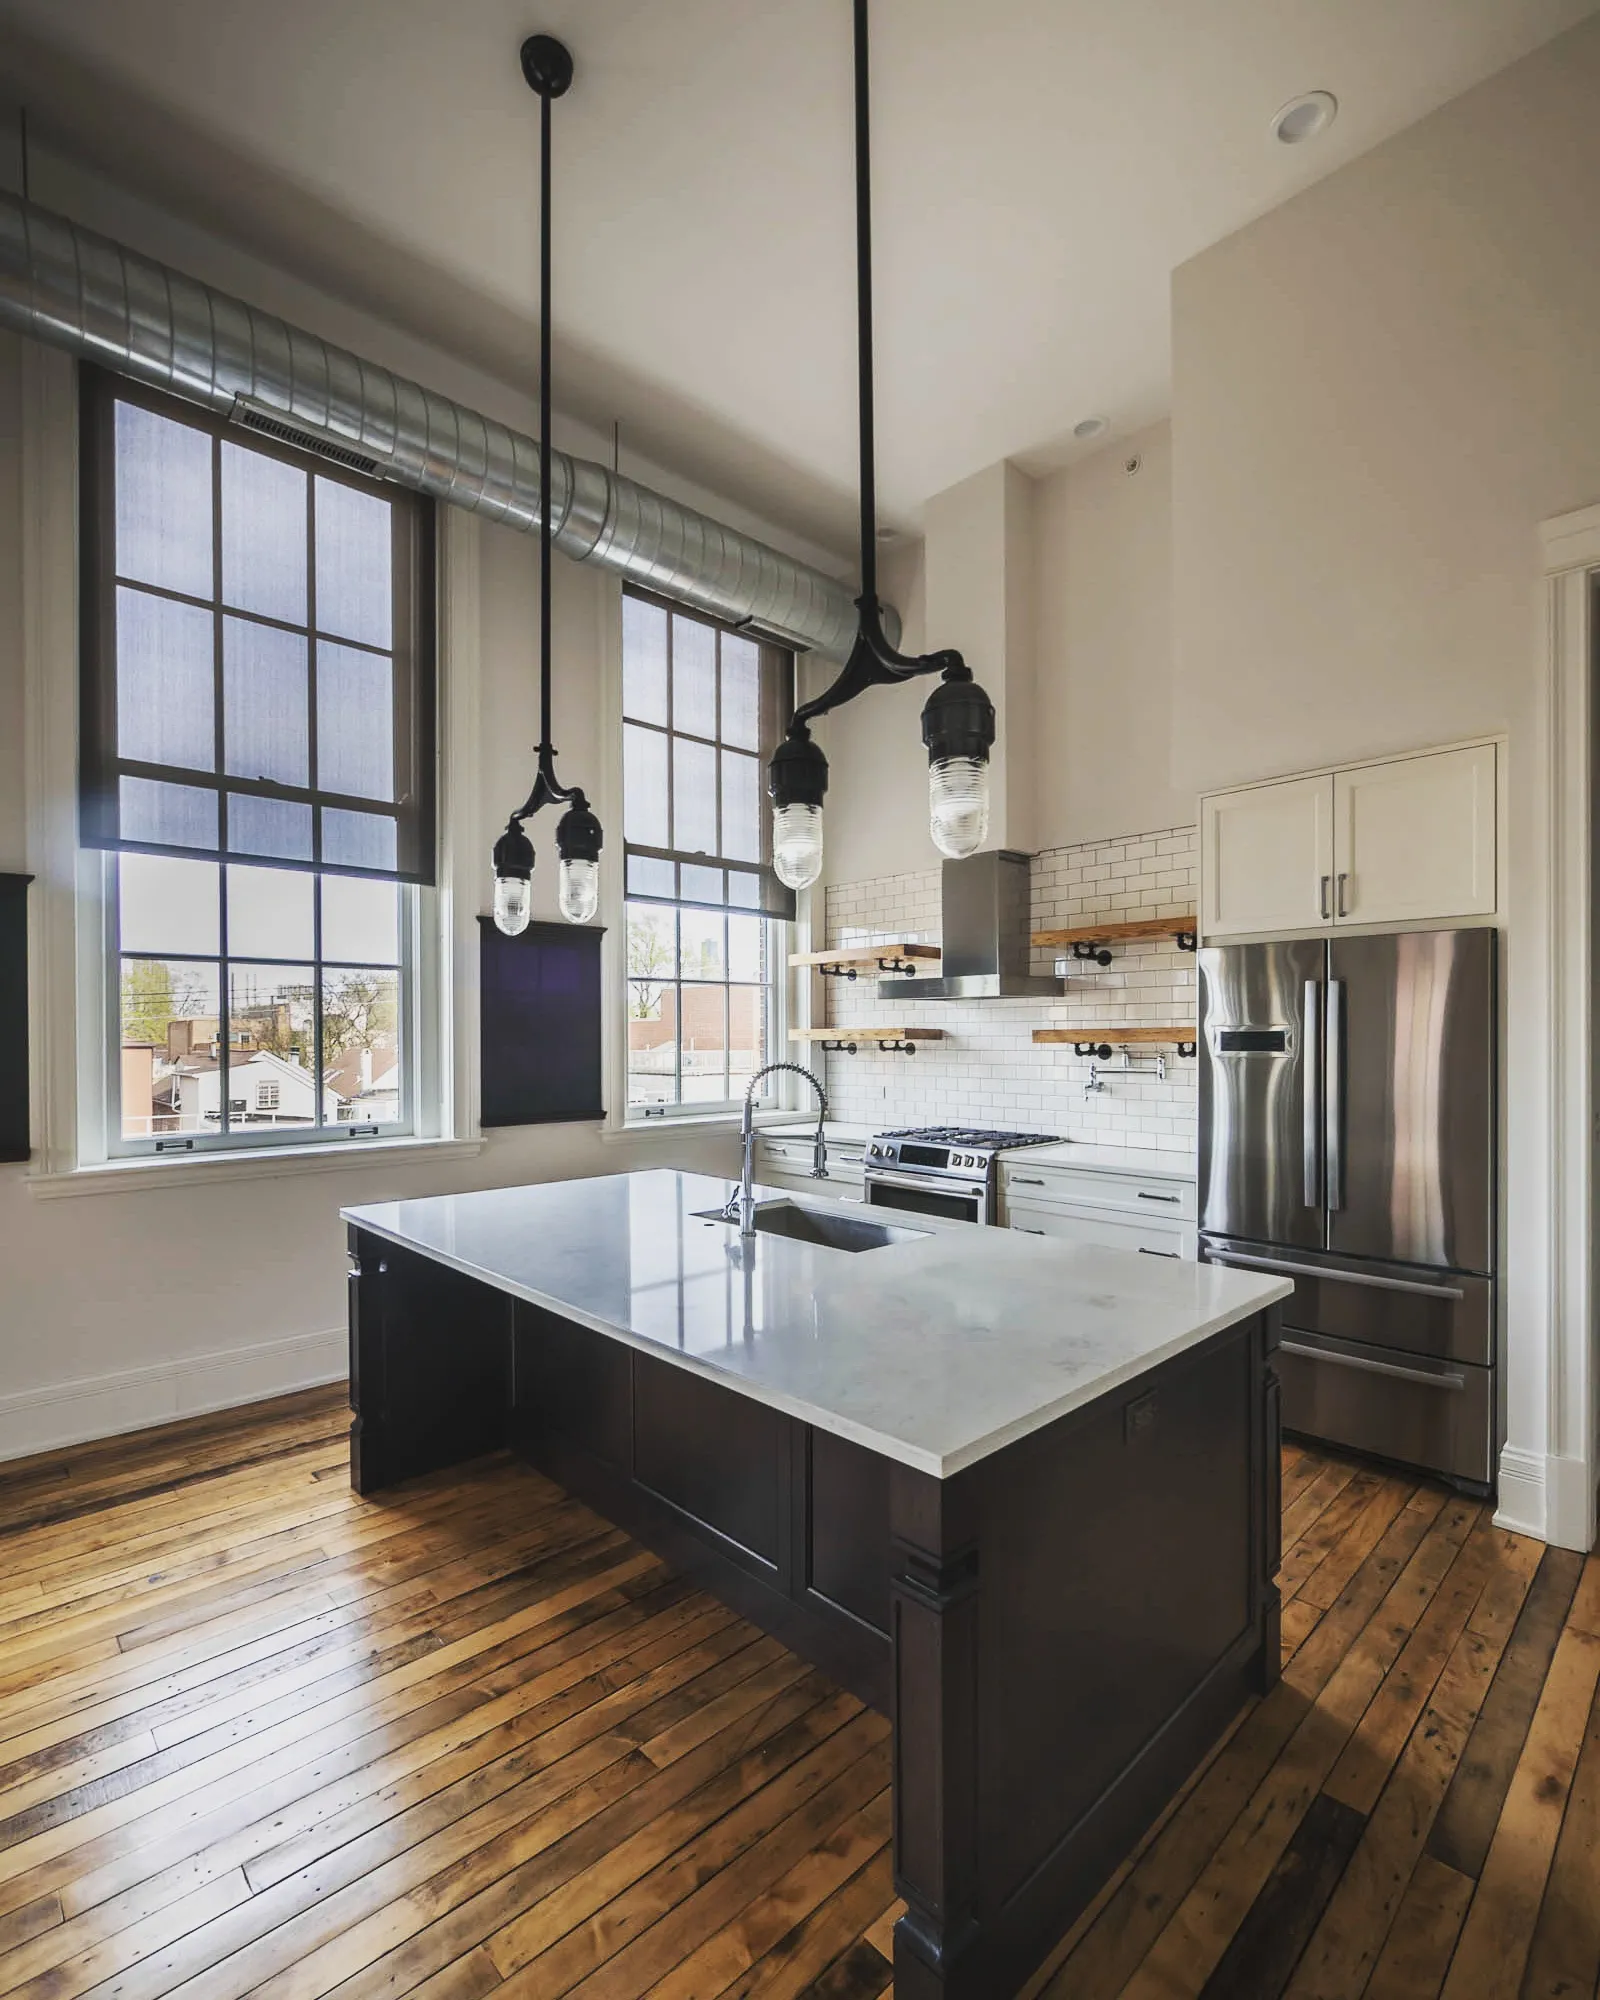
Rotate the smartphone 90 degrees to switch between landscape mode and portait mode, like the photo above, to capture more vertical images.
Craft a Story through Pictures
Many renters form their first impression of an apartment for rent by looking at the photos in the listing. Putting the best foot forward is critical, so give some careful thought to what renters will love most about the apartment if they call it home. Is it the kitchen? An updated kitchen with gleaming appliances and sleek counters will surely catch the eye of many discerning renters. How about the living room? A cozy space that radiates with warmth and sunlight makes for a great first impression.
What tells the story about your apartment for rent? It definitely is NOT the bathroom, in case you were wondering. Trust us, no matter how chic the bathroom vanity is or how fancy the shower tile may be, there are serious drawbacks to leading with images of the WC in a listing. These small spaces are tricky to photograph as well. Don't leave them by the wayside (renters may be wondering why there's no bathroom if you do leave these images out of the carousel) but don't give them top billing on your apartment listing.
How about apartment exteriors? These can be lovely, especially if the apartment building or house has a well-kept facade and some modicum of curb appeal. That metric of "curb appeal" is more popular among realtors than renters, though, and if the rising adoption of flexible work-from-home policies tells us anything, it's that renters are spending plenty of time *inside* their apartments these days. Make the interior photos stand out in a crowded marketplace and don't sweat the exterior photos as much.
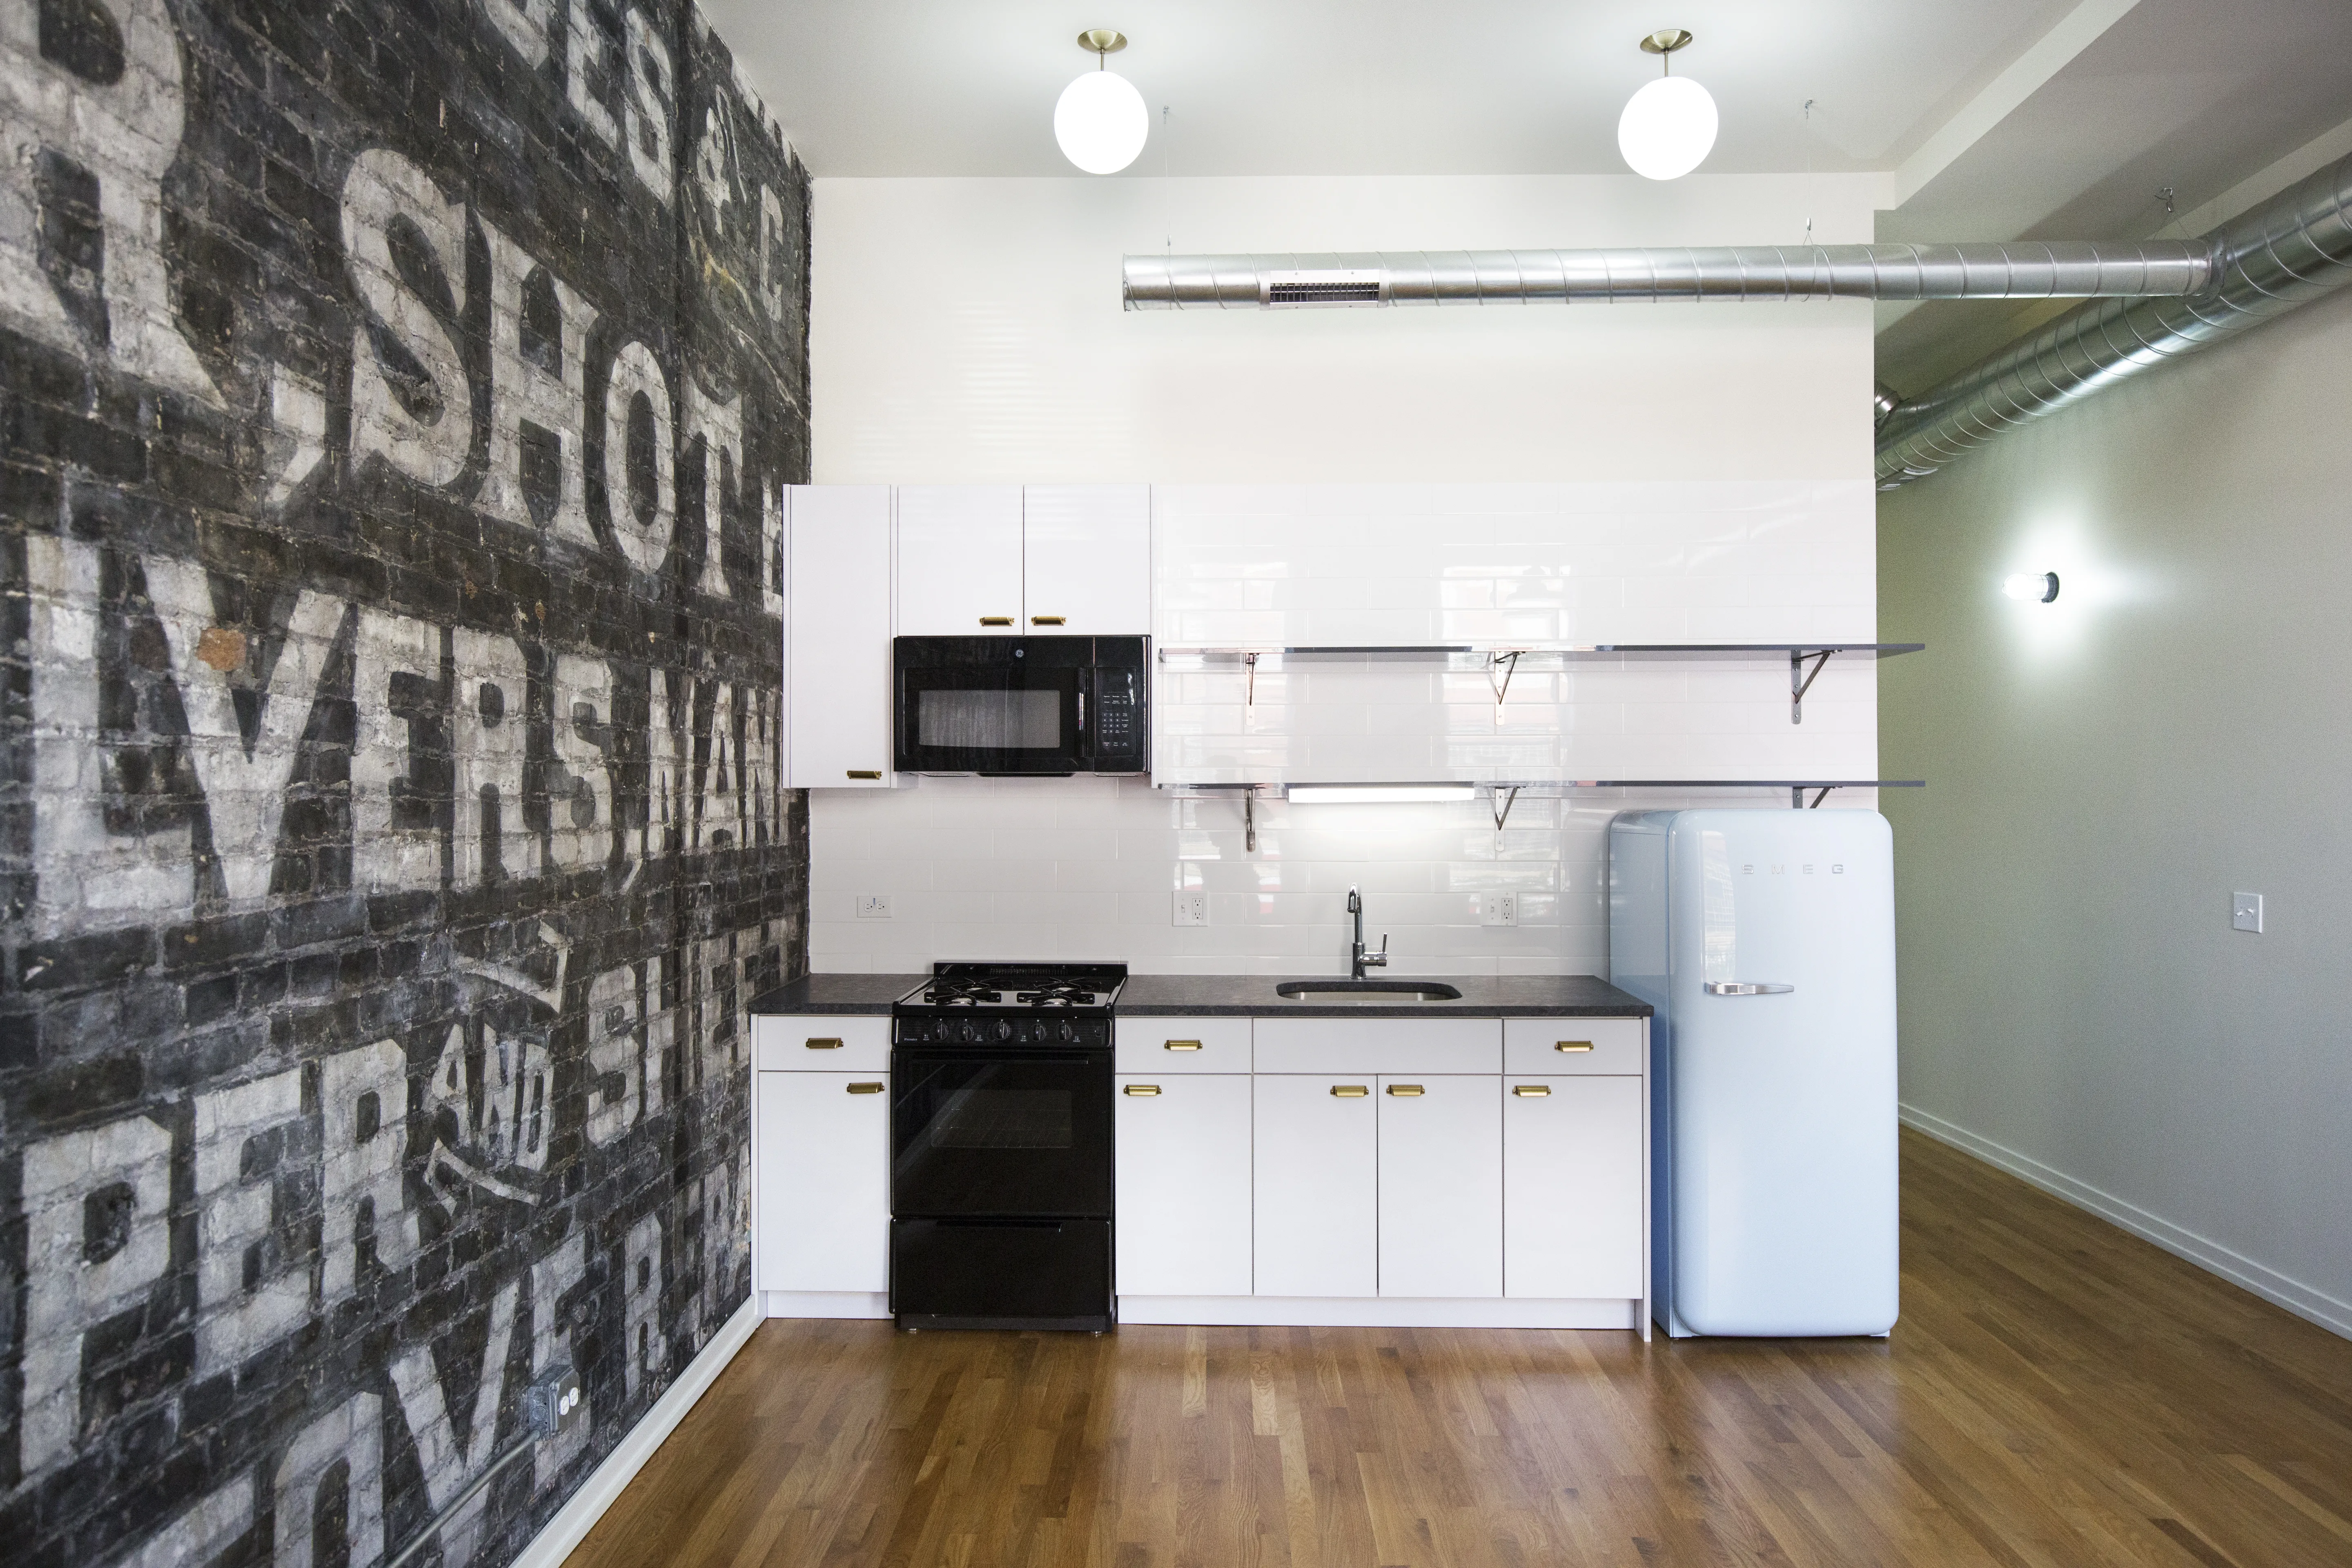
Does the apartment have unique features? Use the photos as a way to engage renters and tell the story about the apartment so they'll want to see more.
Using Advanced Smartphone Camera Features
Has this ever happened to you? Try as you might to get nice, bright photos of a room, the photos still come out too dark for your liking. The solution: you might need to change the exposure setting on the smartphone's camera. The exposure can be adjusted on smartphones that run both iOS and Android operating software. In fact, when it comes to Android and iOS smartphones, there's practically no limit to the quality and level of manual control that users can achieve within the phone. It's usually a matter of heading to the app store on the phone (Google Play for Android) and grabbing the right camera app for the occasion. There's a veritable galaxy of camera apps available for smartphone users right now, and we do recommend a couple of the best free and paid apps for mobile photographers on our guide to taking apartment photos.
But the basic, built-in camera app has a number of nifty manual controls for more technical users who want to tell their smartphones exactly how much light they want to capture. Smartphones can also adjust the white balance on photos. Different settings can be chosen to set the shutter on a timer or even shooting a burst of images with a single tap. Look for these manual controls in the iOS camera app by tapping the downward pointing arrow above the camera frame. For Android users, it will vary depending on which camera application you've chosen.

